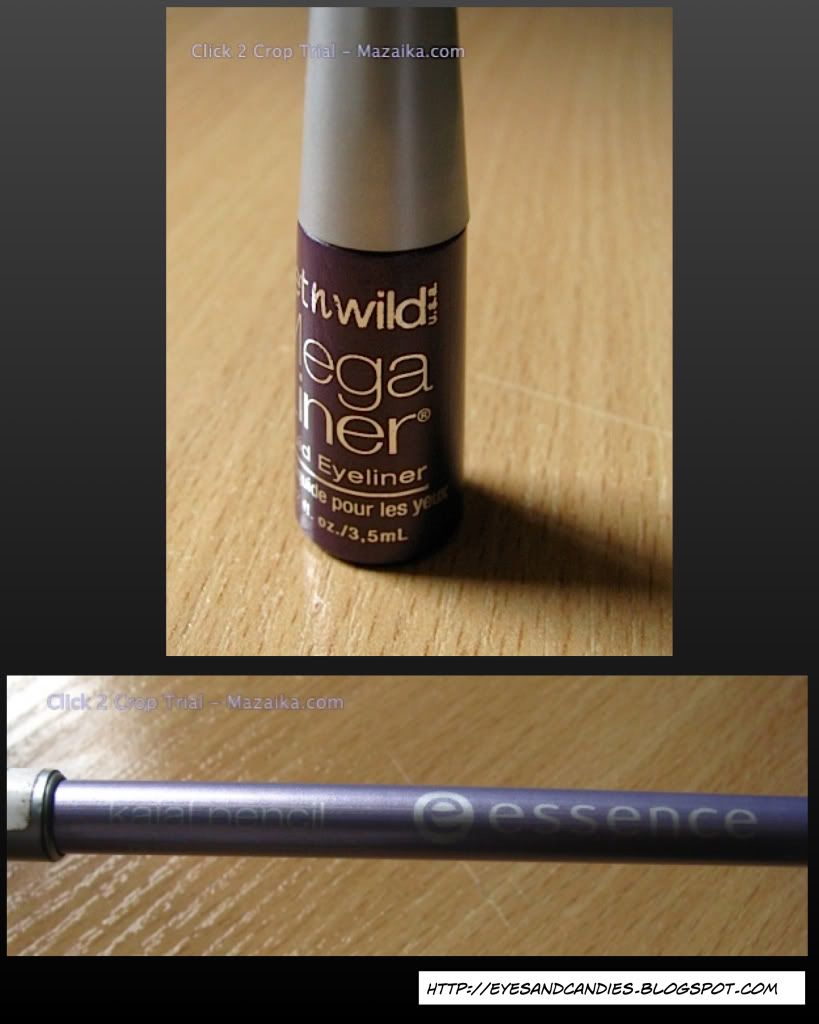
Today I want to share my thoughts on liquid eyeliners from Wet n Wild that I own. To be specific - two:
- Mega Liner liquid eyeliner
- H2O Proof liquid eyeliner
As other Wet n Wild products, these eyeliners are affordable. But what about their performance?
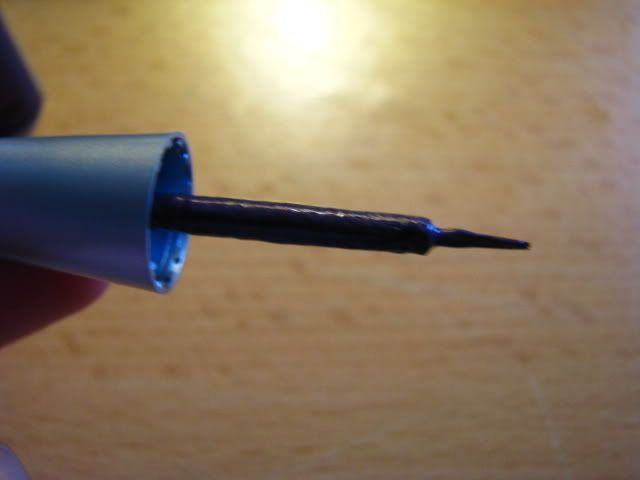
Firstly, I'm going to talk about the H20 Proof one.
I bought it about half a year ago. I wanted to try a brown liquid eyeliner for a softer look and since I just wanted to try it out, decided to go with a more cheap product so that I wouldn't regret it. There was no tester in the store so I could see what was the applicator or how it would go on. I got it in
Black-Brown.
When I got back home, I tried it out. And I wasn't happy with it at all >.<
The first thing to put me off was the applicator. It's a hard tip one. Don't know how you call it. (terrible if you ask me)
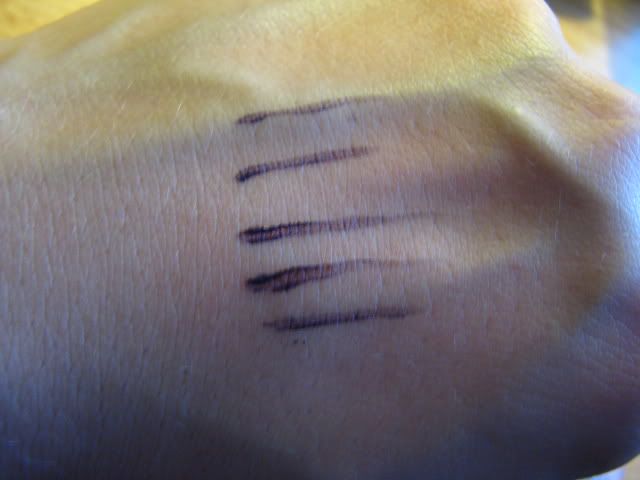
And then I tried it on my hand... And as I recall I was horrified! It was so liquidy, not pigmented enough, and it was hard to apply it on my eyes because of the applicator and since it's so liquidy I felt like it's going into my skin lines.
In the picture you can see swatches of one coat of the liner.
So it scared me a lot, and I put it away until recently I found it in my drawer again. I thought I'd give it one more try.
I shook it well, took the applicator with not much products on it and really steadily tried to line my eyes. I must say,
when you put more effort in it, it can work. But I mean it by saying much more effort.
So yes, it can work. And you need to
apply several layers of it because it's not pigmented much and because it applies better with less product on.
One positive thing about it I must say is that it is
pretty water proof! After trying it on my hand and rubbing it with a wet cotton pad
, it doesn't move at all! Well more like it doesn't smudge. But it loses a tiny tiny bit of pigment. So when removing this from your eyes, makesure to use a waterproof makeup remover.
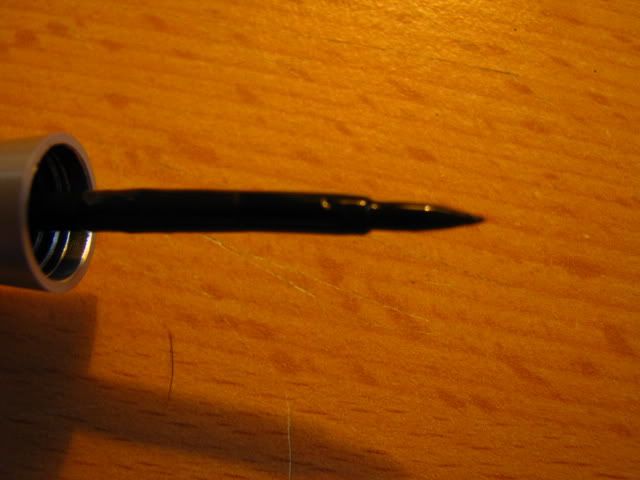
And now moving to Mega Liner.
This liner is my most recent purchase but I have already wore it for a few times. I have it in
Plum. Since I still have the packaging of it, let me first let you know what do they claim about the product:
"Fast drying, smudge-proof color. This long-wearing, quick drying formula applies smoothly and evenly for instantly bigger and bolder eyes. Glides on smooth"
Okay, so first things first - this eyeliner has a
brush applicator which is so much better compared to the H2O Proof one. Though it's not super fine, I'd say,
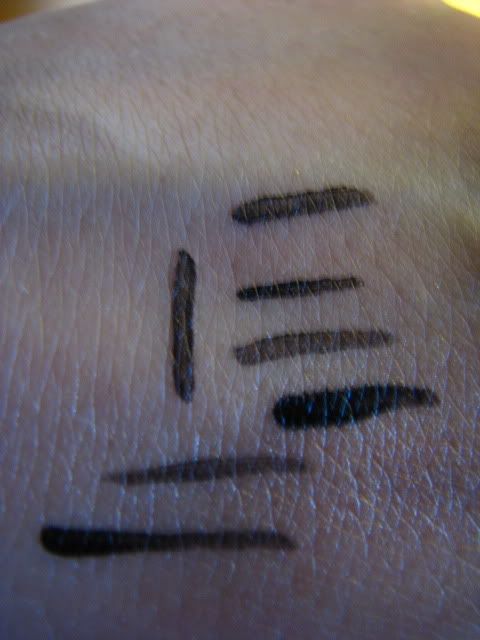
But! it's not pigmented much. And because of the formula, it doesn't allow you to create a fine line easily. I'd like it a bit more liquidy because now it feels a bit thick (though not pigmented). Again, you have to work for it a bit. Yes, it does go on quite smoothly, but since it's so not pigmented, you're going to need to apply several coats of it.
In the picture you can see swatches of one coat of the liner.
In addition, it's not waterproof or water resistant (not that they claim it is) because as you try rub it of with a wet cotton pad,
it comes of right away. Though, as you
apply more coats of it, it stays on better. It is suppose to be long-wearing and if you're not rubbing your eyes or running in the rain, it won't be a problem.:)
SO to sum up, I'm not a fan of these two products. But if I put some effort in it and I'm not rushing trought the door, I can make them work. If you're on a budget, you'll have to practice a tiny bit, mostly witht the H2O Proof eyeliner, because it's so liquidy and can make a big mess thought
it is very waterproof and this did impress me! And the Mega Liner one I like because of the colour, plus it has a bit of tiny sparkles in it.
P.S. Emily from
Beauty Broadcast on Youtube has mentioned in oen of her videos that she likes Mega Liner. I think she has it in black, so maybe it has a diferent formulation and is more pigmented.
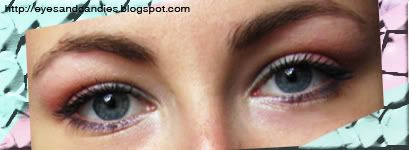
And! You can see me use both of these eyeliners in eye looks:
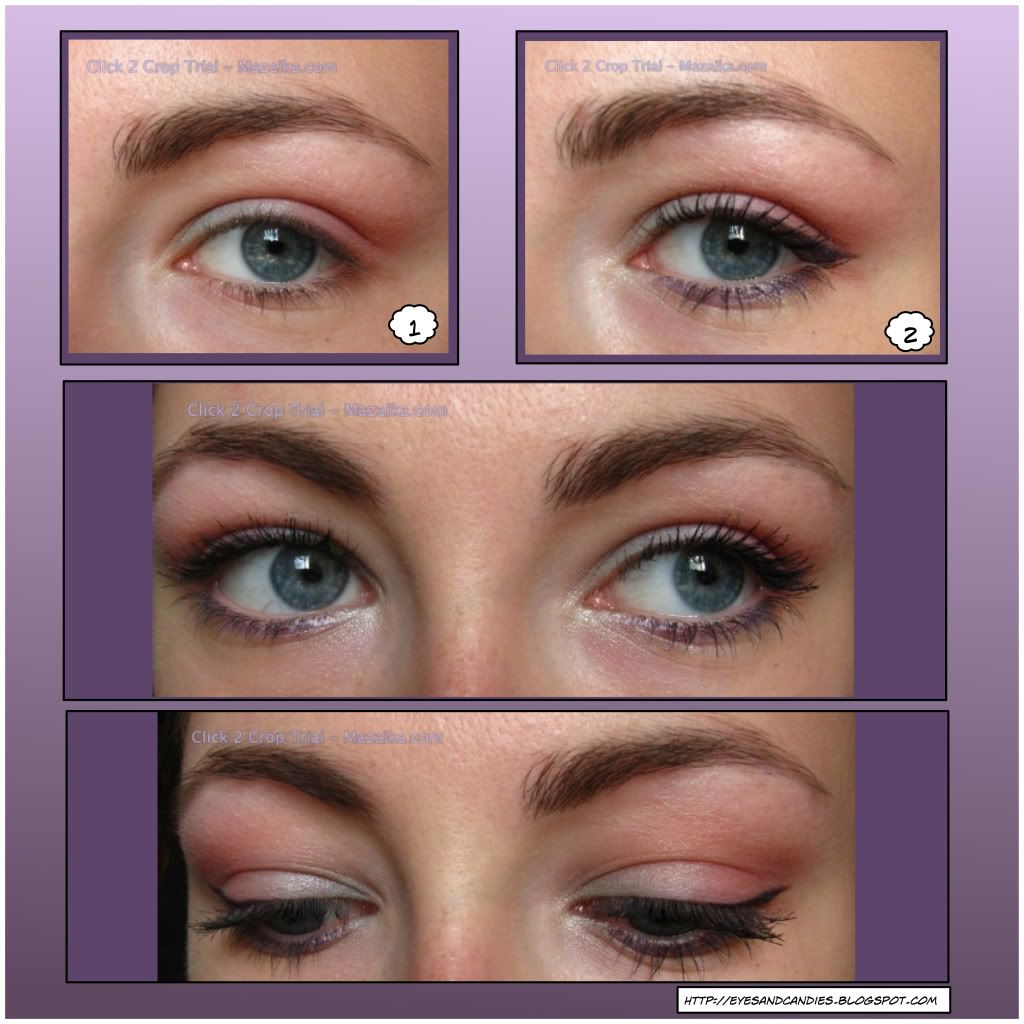
H20 Proof:
"Private beach" eye look!
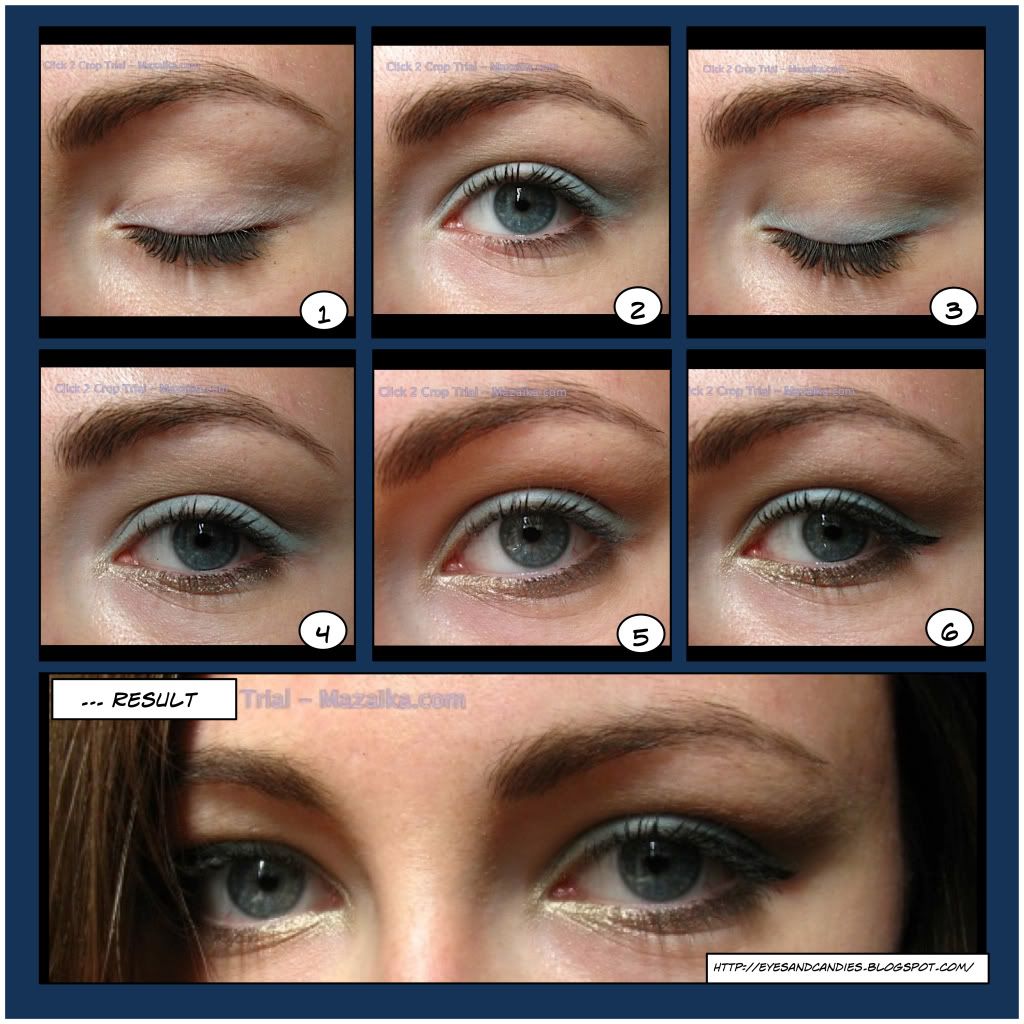
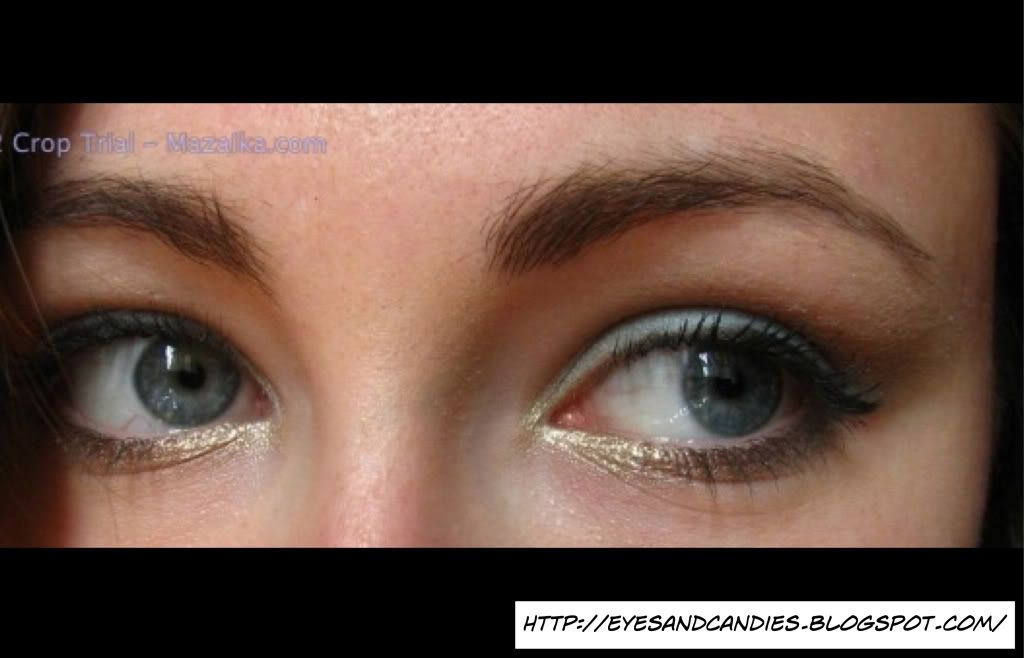
Mega Liner:
Sweet candy-like eyes!
Hope this review helps any of you!
Miss K.