Hello everyone!
It's been a while since my last post! Today I'm back and I want to share with you guys this look I created for a nice summer day (actually good for spring too!)

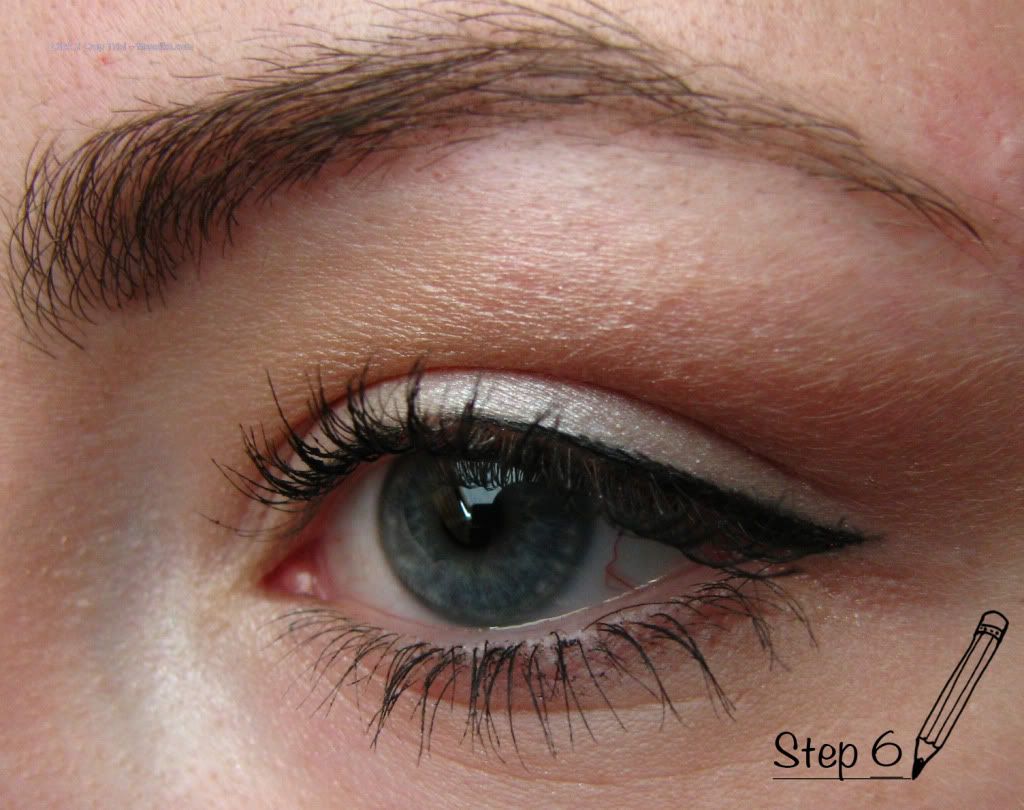
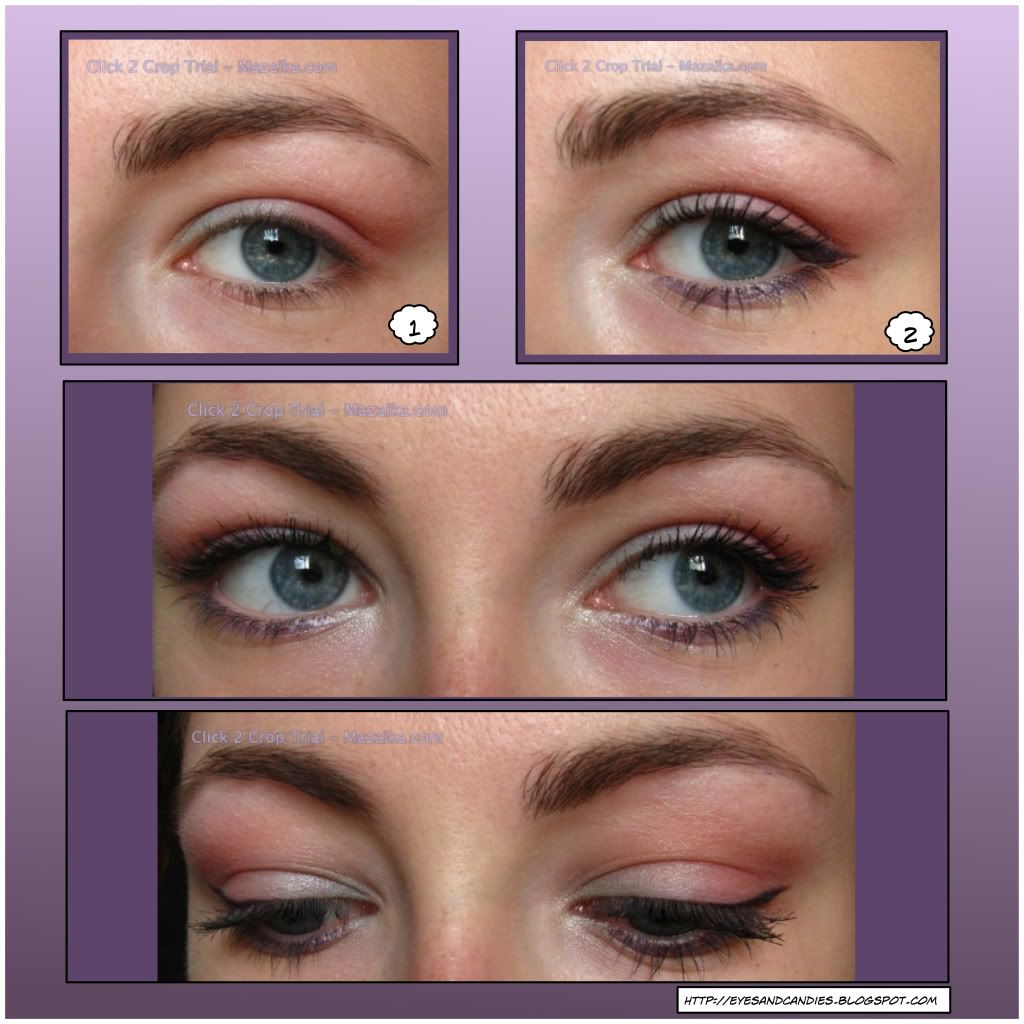
It's a soft pastel look created by using light blue and pink shadows and purple eye liners. This looks so sweet and candy like, I just love it!
So to recreate this look or just grab an idea of how you could achieve something similar keep scrolling down!:) And feel free to replace products to what you have ! Always be creative when following a tutorial :)
The shadow part of the look:
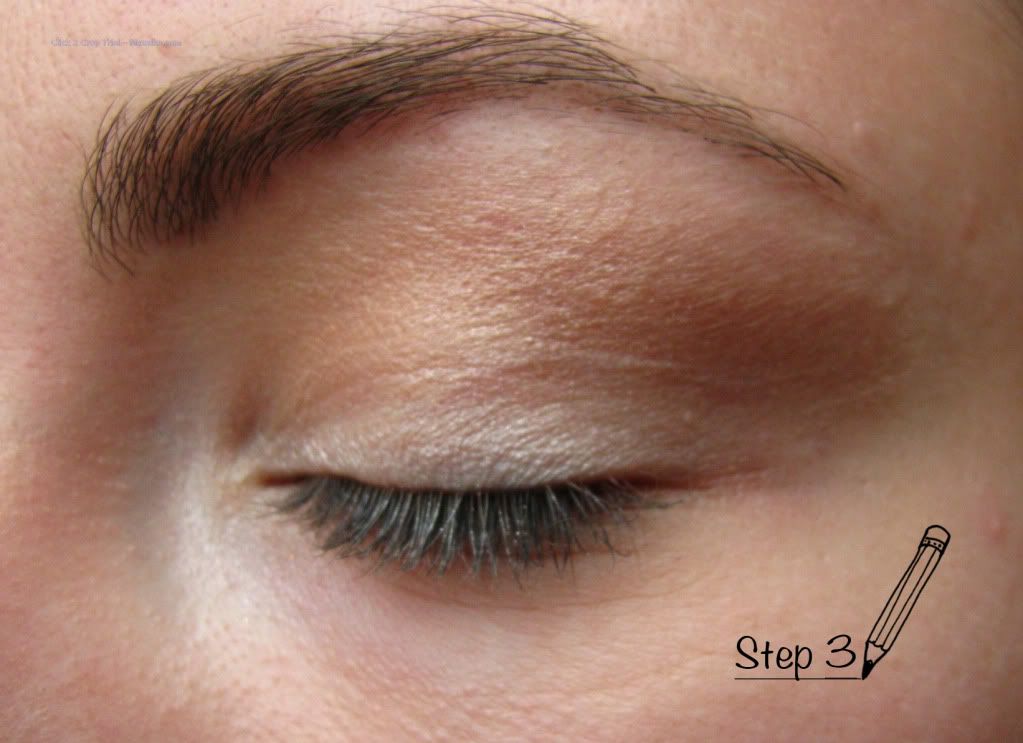
1) After priming your eyes, apply a light or baby blue shadow to the inner half of the lids and a nice cool toned pink colour on the second half. Blend the pink up to where you want it to be and blend well! I blended the pink a bit past the crease.
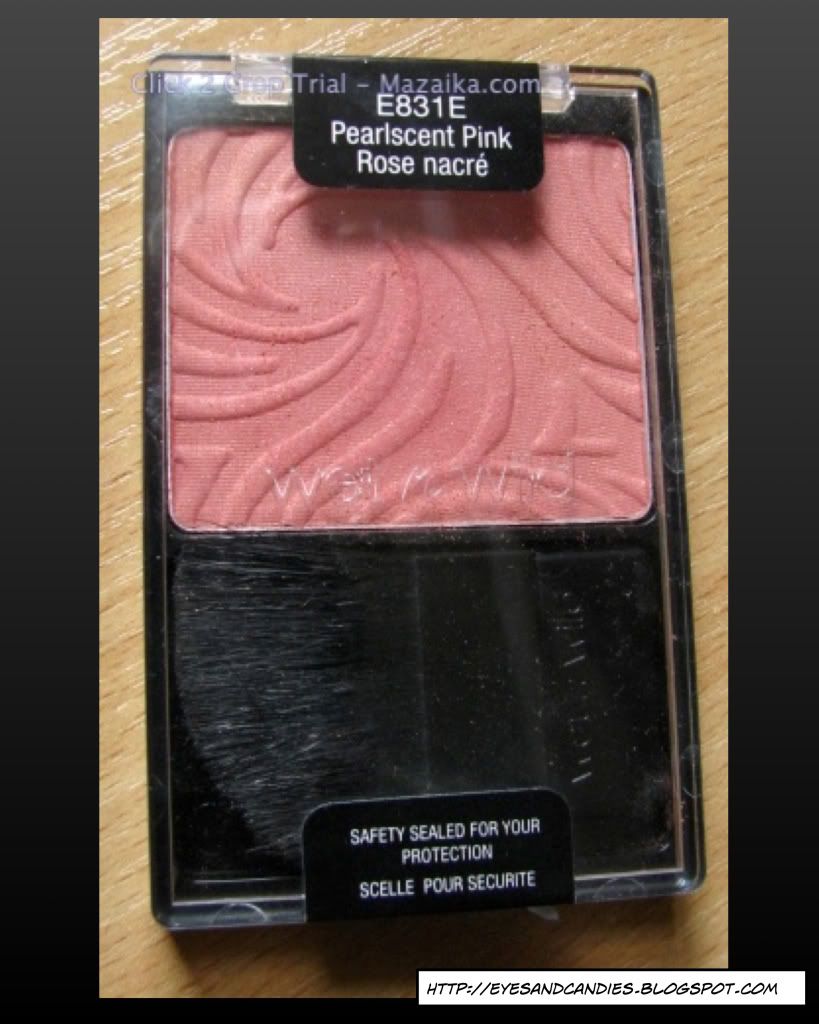
p.s. At this point, I must say I cheated. I could find a suitable pind shadow so what I did is I used a blush instead:
 It's Pearlescent Pink by Wet'n Wild. Must add that this blush would go nicely with the look!:)
p.p.s does this mean that my eyes are blushing now? :D
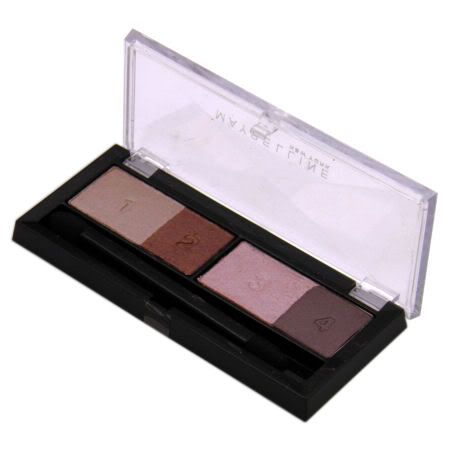
2) To blend these two colours together and give a bit of dimension to your eyes, use a light shimery pink eye shadow in the center of your lids where the colours meet! I used third one in the Maybelline Eyestudio pallete in Intense chic. It's not very pigmently but just lightly pink with a shimmer so it's perfect.

3)With the same light shimerry pink highlight under the brow and in the inner corners of your eyes.
The liner part of the look:
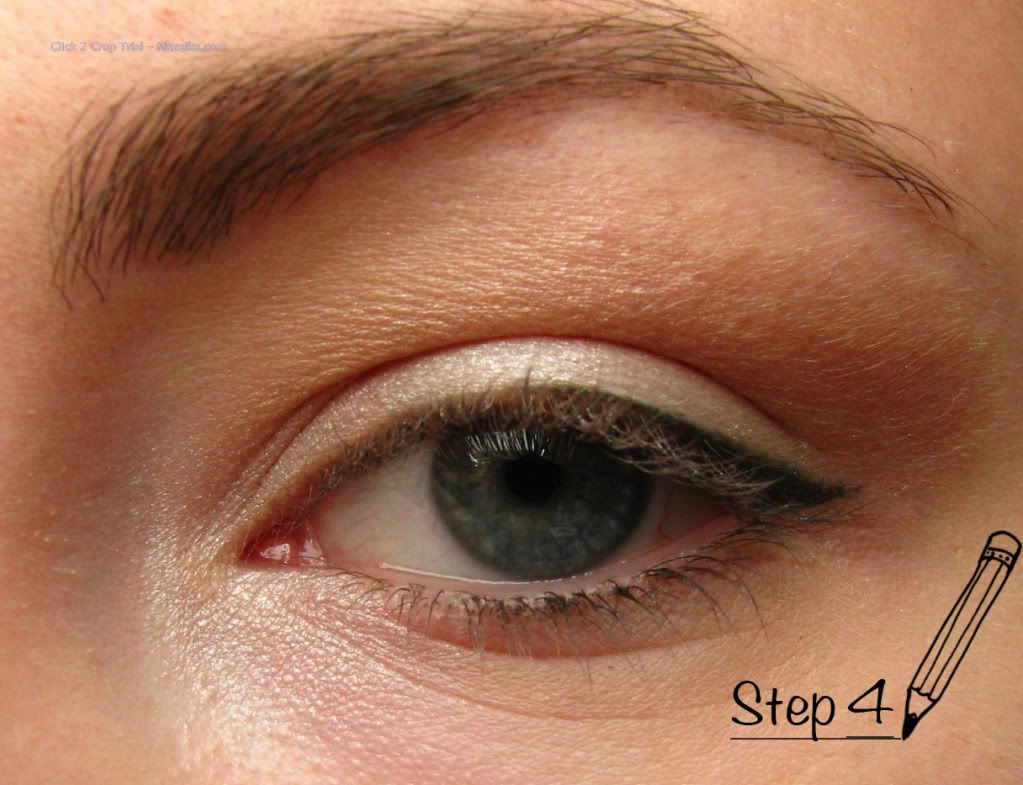
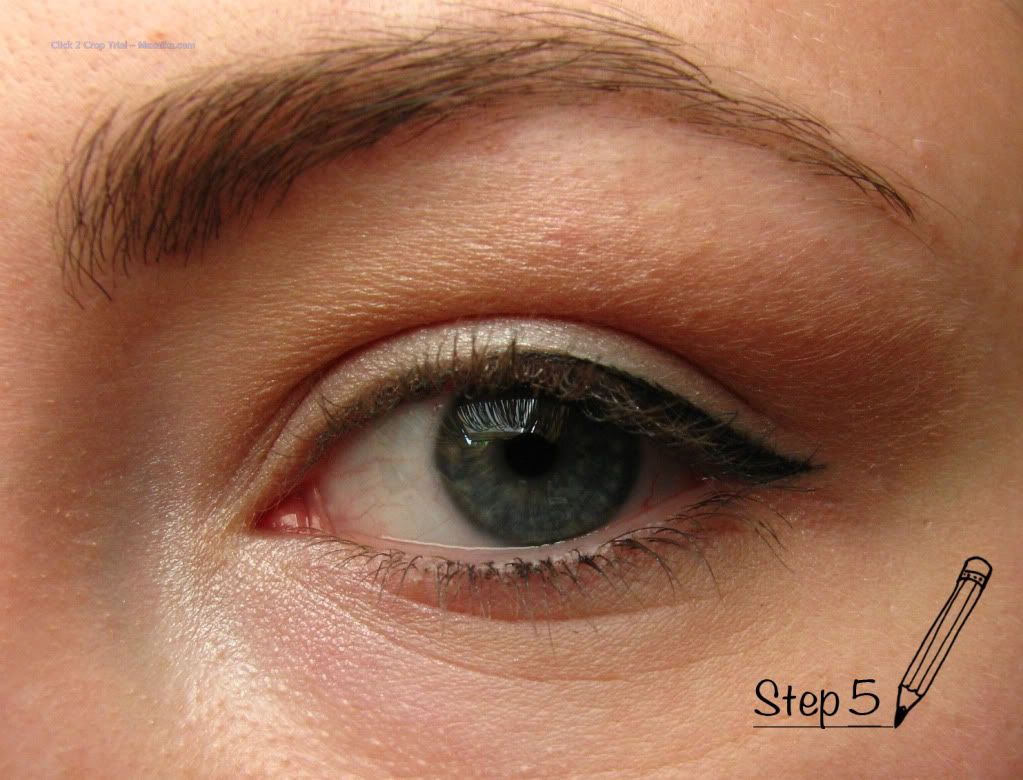
1) As black would be a bit harsh for this sweet pastel look, use a purple liquid eyeliner to line your upper eyelids and wing it out to your liking.
2) Using a light purple or lilac eye pencil (or even the same liquid liner if you want) line your lower lashline about two thirds in.
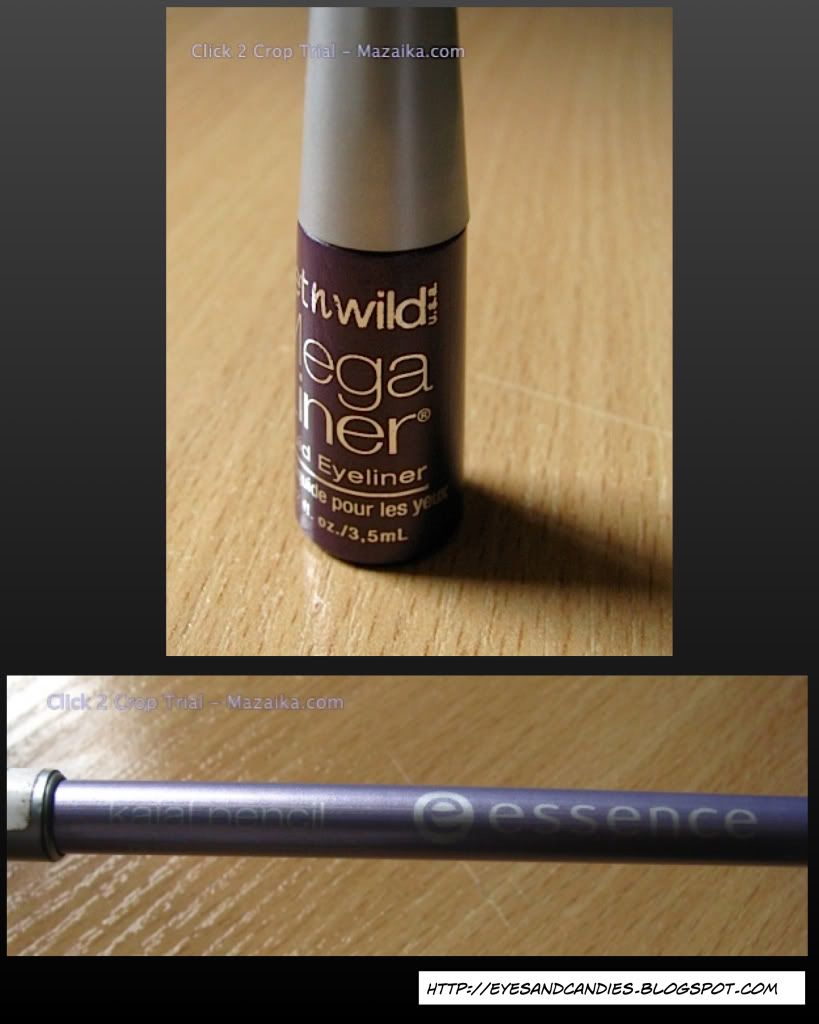
 I used Wet'n Wild's Mega Liner in Plum and an kajal pencil by Essence in 18 Everybody's darling.
Why are we using purple for this look? Well, think of it as if the pink and the blue we used got mixed together and what came out was purple colour! :)
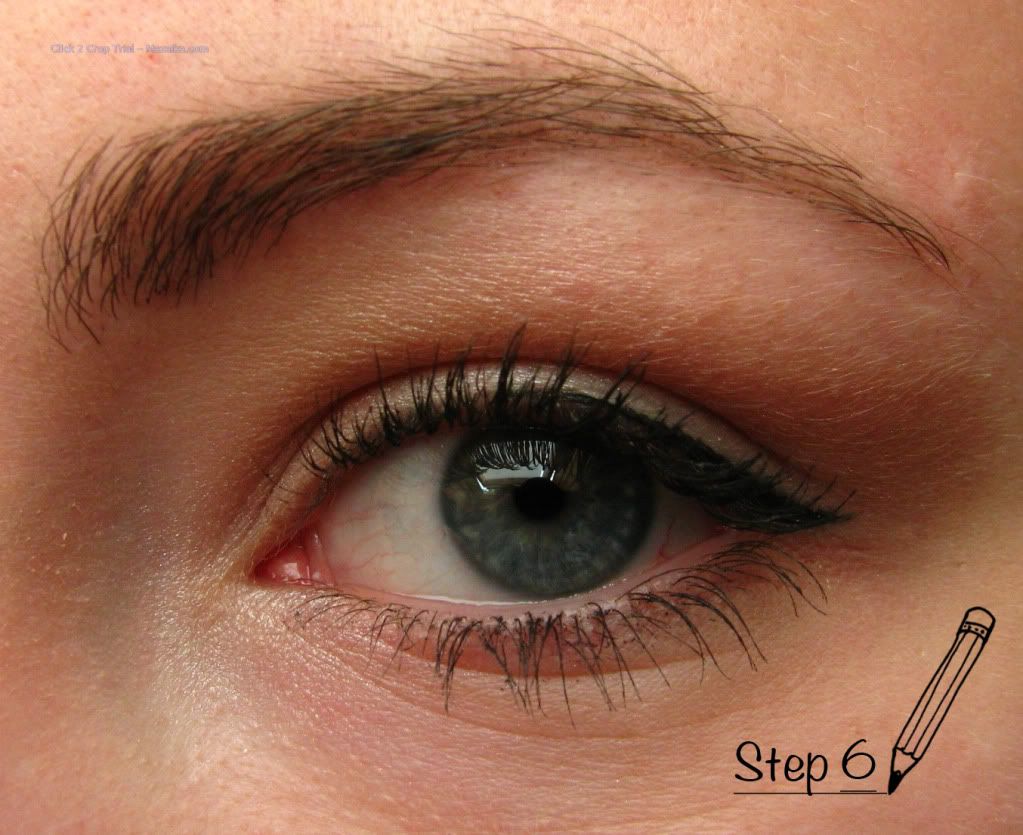
Finally, add mascara and....

... this sweet candy-like look is done! :)
I'm really happy to share this with you guys! And this look brings me so much joy everytime I look in the mirror! So fun and sweet!:)
And I hope you like this! Thank you for joining me and have a lovely day!
Yours delighfully,
Miss K.
It's been a while since my last post! Today I'm back and I want to share with you guys this look I created for a nice summer day (actually good for spring too!)
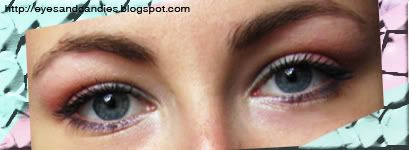
It's a soft pastel look created by using light blue and pink shadows and purple eye liners. This looks so sweet and candy like, I just love it!
So to recreate this look or just grab an idea of how you could achieve something similar keep scrolling down!:) And feel free to replace products to what you have ! Always be creative when following a tutorial :)
The shadow part of the look:
1) After priming your eyes, apply a light or baby blue shadow to the inner half of the lids and a nice cool toned pink colour on the second half. Blend the pink up to where you want it to be and blend well! I blended the pink a bit past the crease.
p.s. At this point, I must say I cheated. I could find a suitable pind shadow so what I did is I used a blush instead:
p.p.s does this mean that my eyes are blushing now? :D
2) To blend these two colours together and give a bit of dimension to your eyes, use a light shimery pink eye shadow in the center of your lids where the colours meet! I used third one in the Maybelline Eyestudio pallete in Intense chic. It's not very pigmently but just lightly pink with a shimmer so it's perfect.
3)With the same light shimerry pink highlight under the brow and in the inner corners of your eyes.
The liner part of the look:
1) As black would be a bit harsh for this sweet pastel look, use a purple liquid eyeliner to line your upper eyelids and wing it out to your liking.
2) Using a light purple or lilac eye pencil (or even the same liquid liner if you want) line your lower lashline about two thirds in.
Why are we using purple for this look? Well, think of it as if the pink and the blue we used got mixed together and what came out was purple colour! :)
Finally, add mascara and....
... this sweet candy-like look is done! :)
I'm really happy to share this with you guys! And this look brings me so much joy everytime I look in the mirror! So fun and sweet!:)
And I hope you like this! Thank you for joining me and have a lovely day!
Yours delighfully,
Miss K.